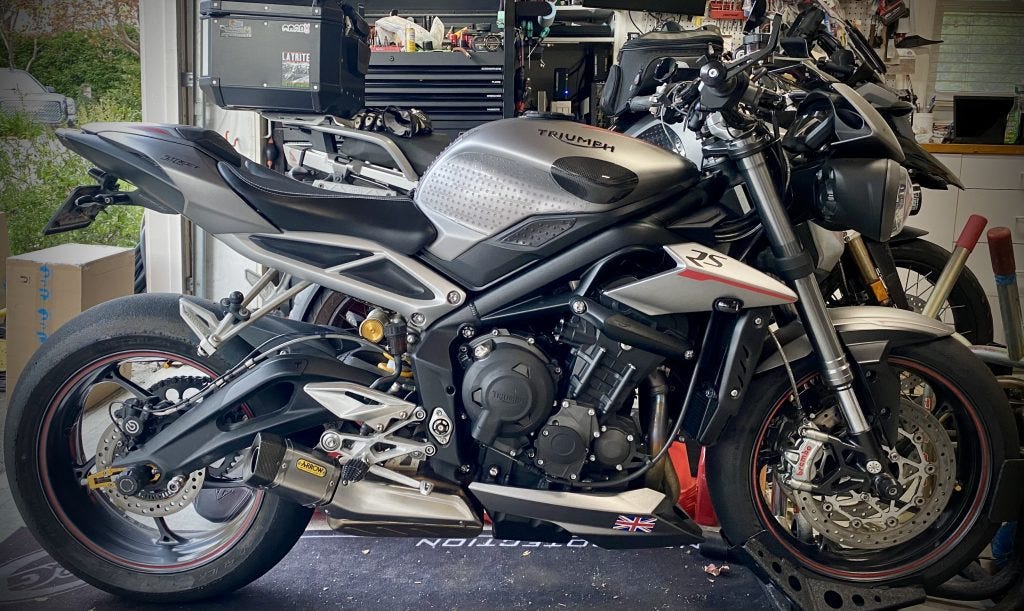
Brake Maintenance
As my pace improves, I'm using a lot more brakes. Consequently, I like to do a proper brake cleaning with about every front brake pad replacement. In general, a set of pads lasts me about 2-4 front tires worth.
Old pads
New pads and clean calipers
This is an easy service that, once you've done it a few times, only takes 30 - 45 minutes. Sometimes I'll do all the bikes at the same time since each additional bike only adds a few minutes and not much more mess.
Bowl or bucket of warm soapy water (household dishwashing soap)
Bowl or bucket of clean warm water
Tools to remove front calipers
Sacrificial toothbrush
Optional, air compressor with gun nozzle
Start by removing your brake pads. Some require you to remove the calipers first, some you can remove while the caliper is attached to the forks.
Try to avoid pushing the brake pistons back into the calipers if you can help it. If you haven't already, remove the calipers. Remove any spring plates or retaining pins.
Lift the soapy water bucket or bowl up so that you submerge the caliper. While holding the brake caliper above the bucket of soapy water, use the toothbrush to clean the outside and inside area of the caliper. Spend a good amount of time around the pistons to remove any residue that might prevent the pistons from sliding smoothly.
Then submerge the caliper in the clean water until all the suds are clear. Repeat as necessary with more scrubbing.
If you have one, use the air compressor nozzle to blow dry everything.
Clean any retaining pins/springs/pins.
Now inspect your brake pads. Look for even wear (uneven wear might indicate a sticking piston), if necessary, measure pad thickness and replace as necessary. Whether or not I replace the pads, I push the pistons back into the caliper at least a little to make reassembly easier. I do this with my fingers squeezing the pistons.
Reassemble calipers with pads (fresh if need be) and put it all back together, check caliper to fork tightness with a torque wrench.
At this point, I usually take the bike for a 2-3 mile ride, slow at first, just to make sure things are feeling right. Remember that the first several brake applications will be weak so give yourself extra stopping distance. Gradually build up more brake pressure on the test ride to help bed the brake pads.
Anytime I service the brakes as above, I flush the brake fluid as well. I've installed Stahlbus bleeders on most of my bikes to make it easier and faster. I usually don't do a complete drain first but I'll pump out all but about 1/2" of fluid from the reservoir, add fresh fluid, and continue bleeding that through. Don't forget to bleed your master cylinder if it has a bleed nipple (most radial master cylinders do).
SBS 901 DC (Dual Carbon) Pads
Shiny clean calipers, titanium caliper bolts from KurveyGirl


