Suspension Potentiometers - Triumph Daytona 765 (also applicable to 2013-2017 Daytona 675R)
Want to be a bit more sophisticated than using a zip tie on your fork leg?
A lot of folks will put a zip tie on a fork leg to check their suspension travel. While this is better than nothing, all it shows you is a single point in time where you had maximum fork travel. It doesn’t paint any sort of picture of how much suspension you’re using at different corners, averages, or how you’re using the brakes to get into a corner.
I won’t get into interpreting data here—if you have a well-rounded coach and/or suspension technician, they will be able to read the data and determine if riding or suspension changes are warranted. What I m covering here is how my suspension technician and I attached potentiometers to my front and rear suspension on my primary bike.
The bike discussed here is a 2020 Triumph Daytona 765 that came stock with an OE made-for-Triumph Ohlins TTX shock and NIX 30 forks. We have since upgraded fork internals to the FKR cartridge kit and the rear shock is an Ohlins direct TTX with ride height adjustment.
My suspension technician really prefers not to drill/tap components to fit potentiometers so that adds a layer of complexity and requires a bit more ingenuity than busting out a drill and the tap set. In the case for this bike, it required sourcing special parts (still readily available though) and a small bit of fabrication for the shock. We used AiM Eclipse linear potentiometers on the bike integrated with the EVO4s data logger.
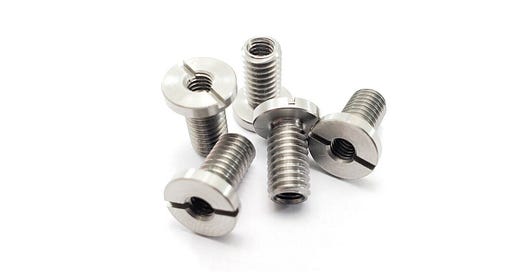
For the front, he replaced the OE ABS speed sensor bolt with an M6 male to M4 female bolt. It’s the same size bolt but it has a slotted head and an M4 female receiver to which the M4 pop joint bolt threads into. He sourced these from a seller on eBay.
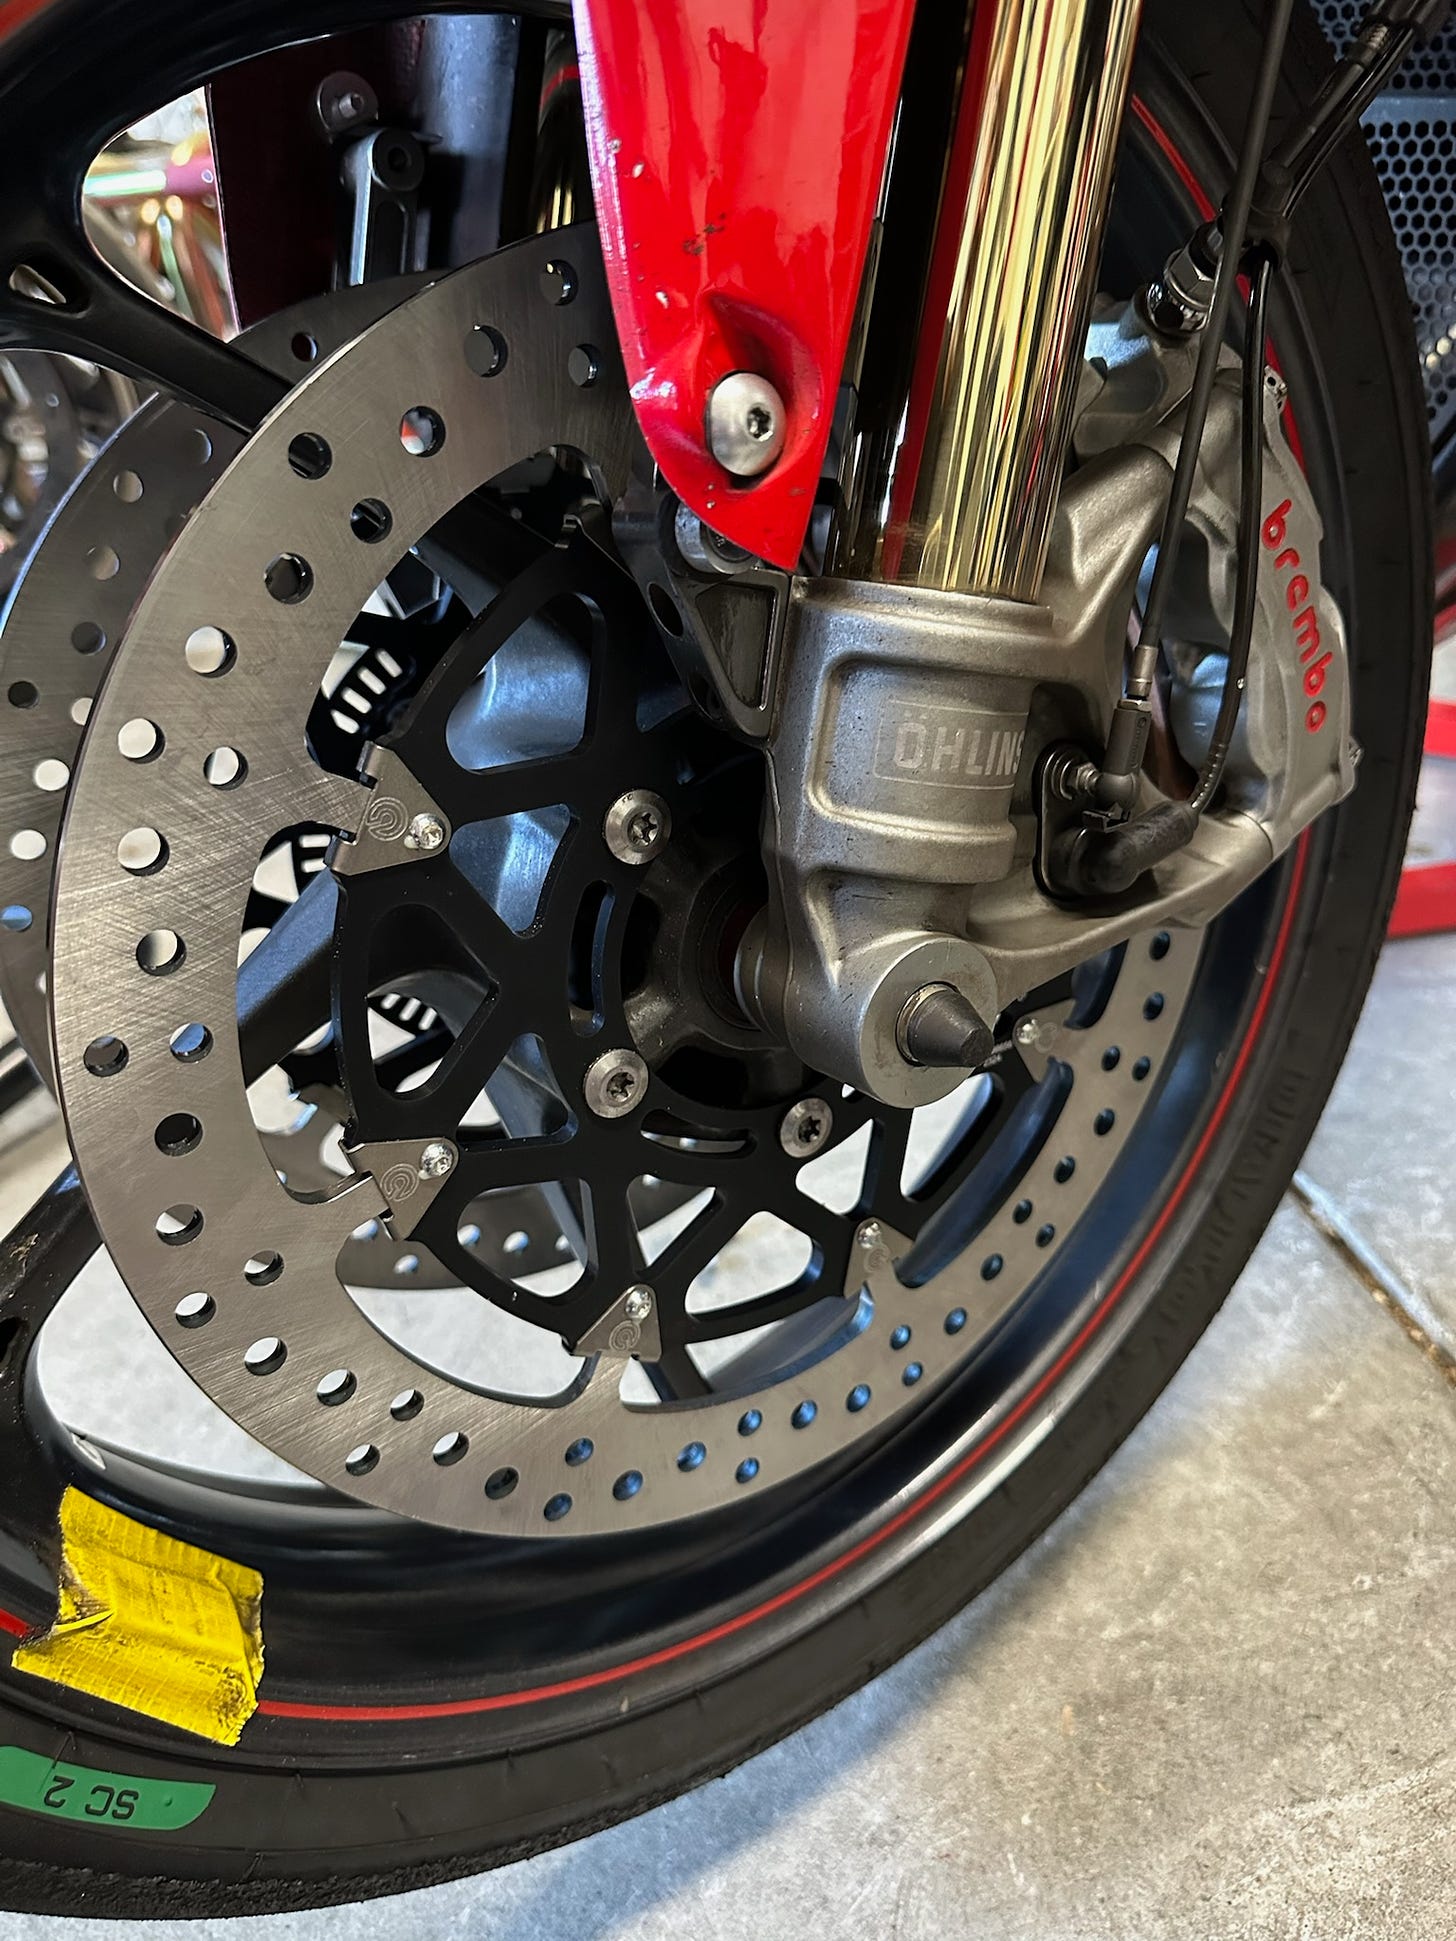
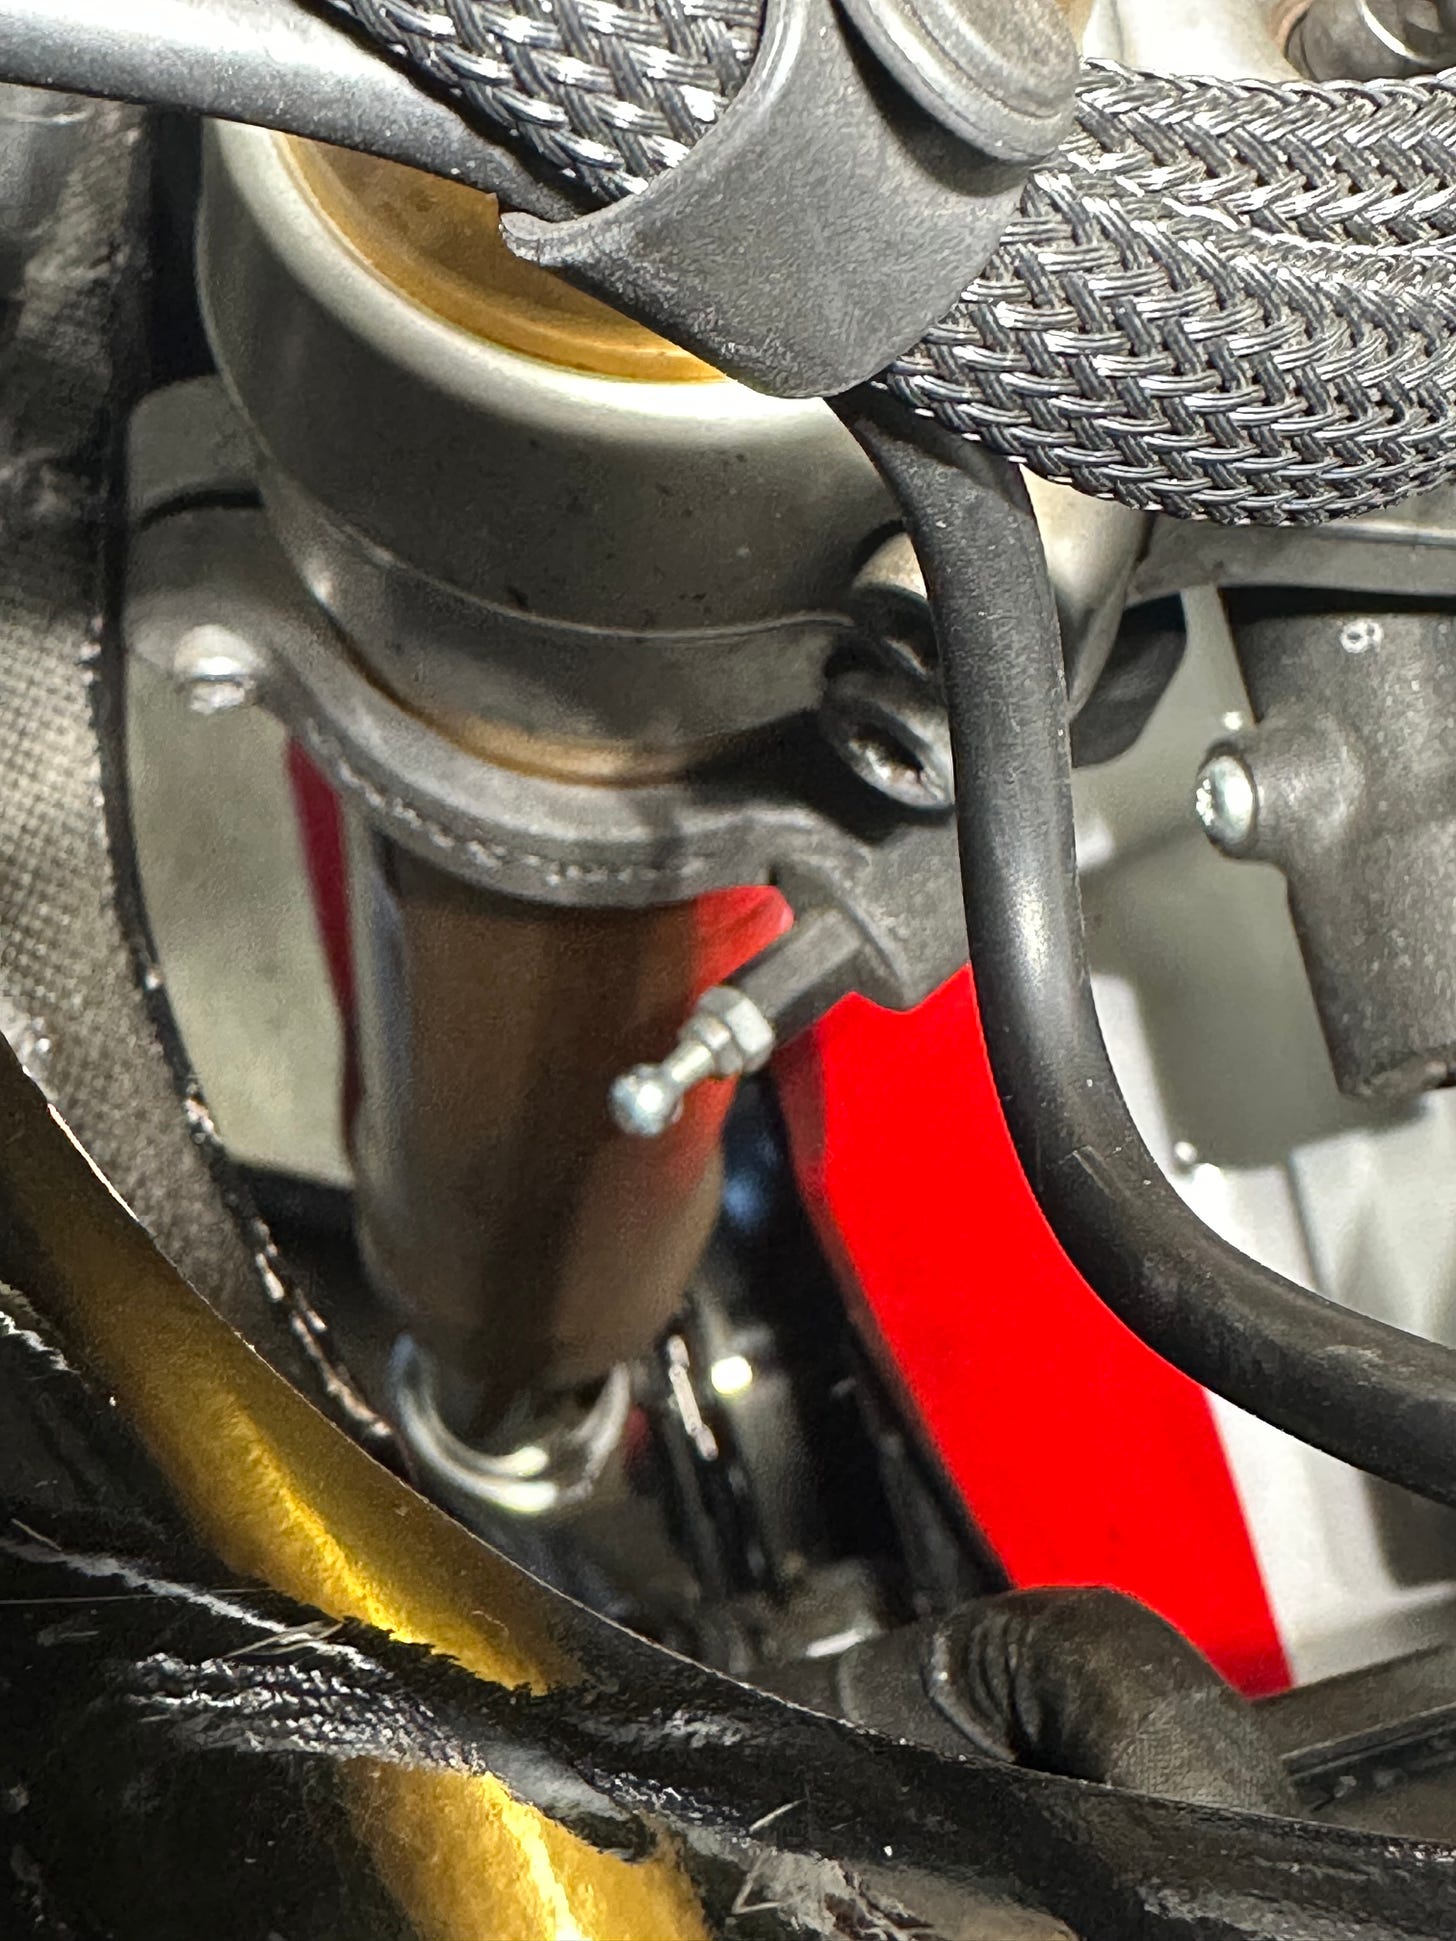
At the top of the fork, we purchased an EvolTech fork clamp with M4 female threads. The nice part with this is that it will fit anywhere on the fork so when I upgraded the suspension potentiometers to newer ones which had a longer body, we could just loosen the clamp and slide it to the appropriate height.
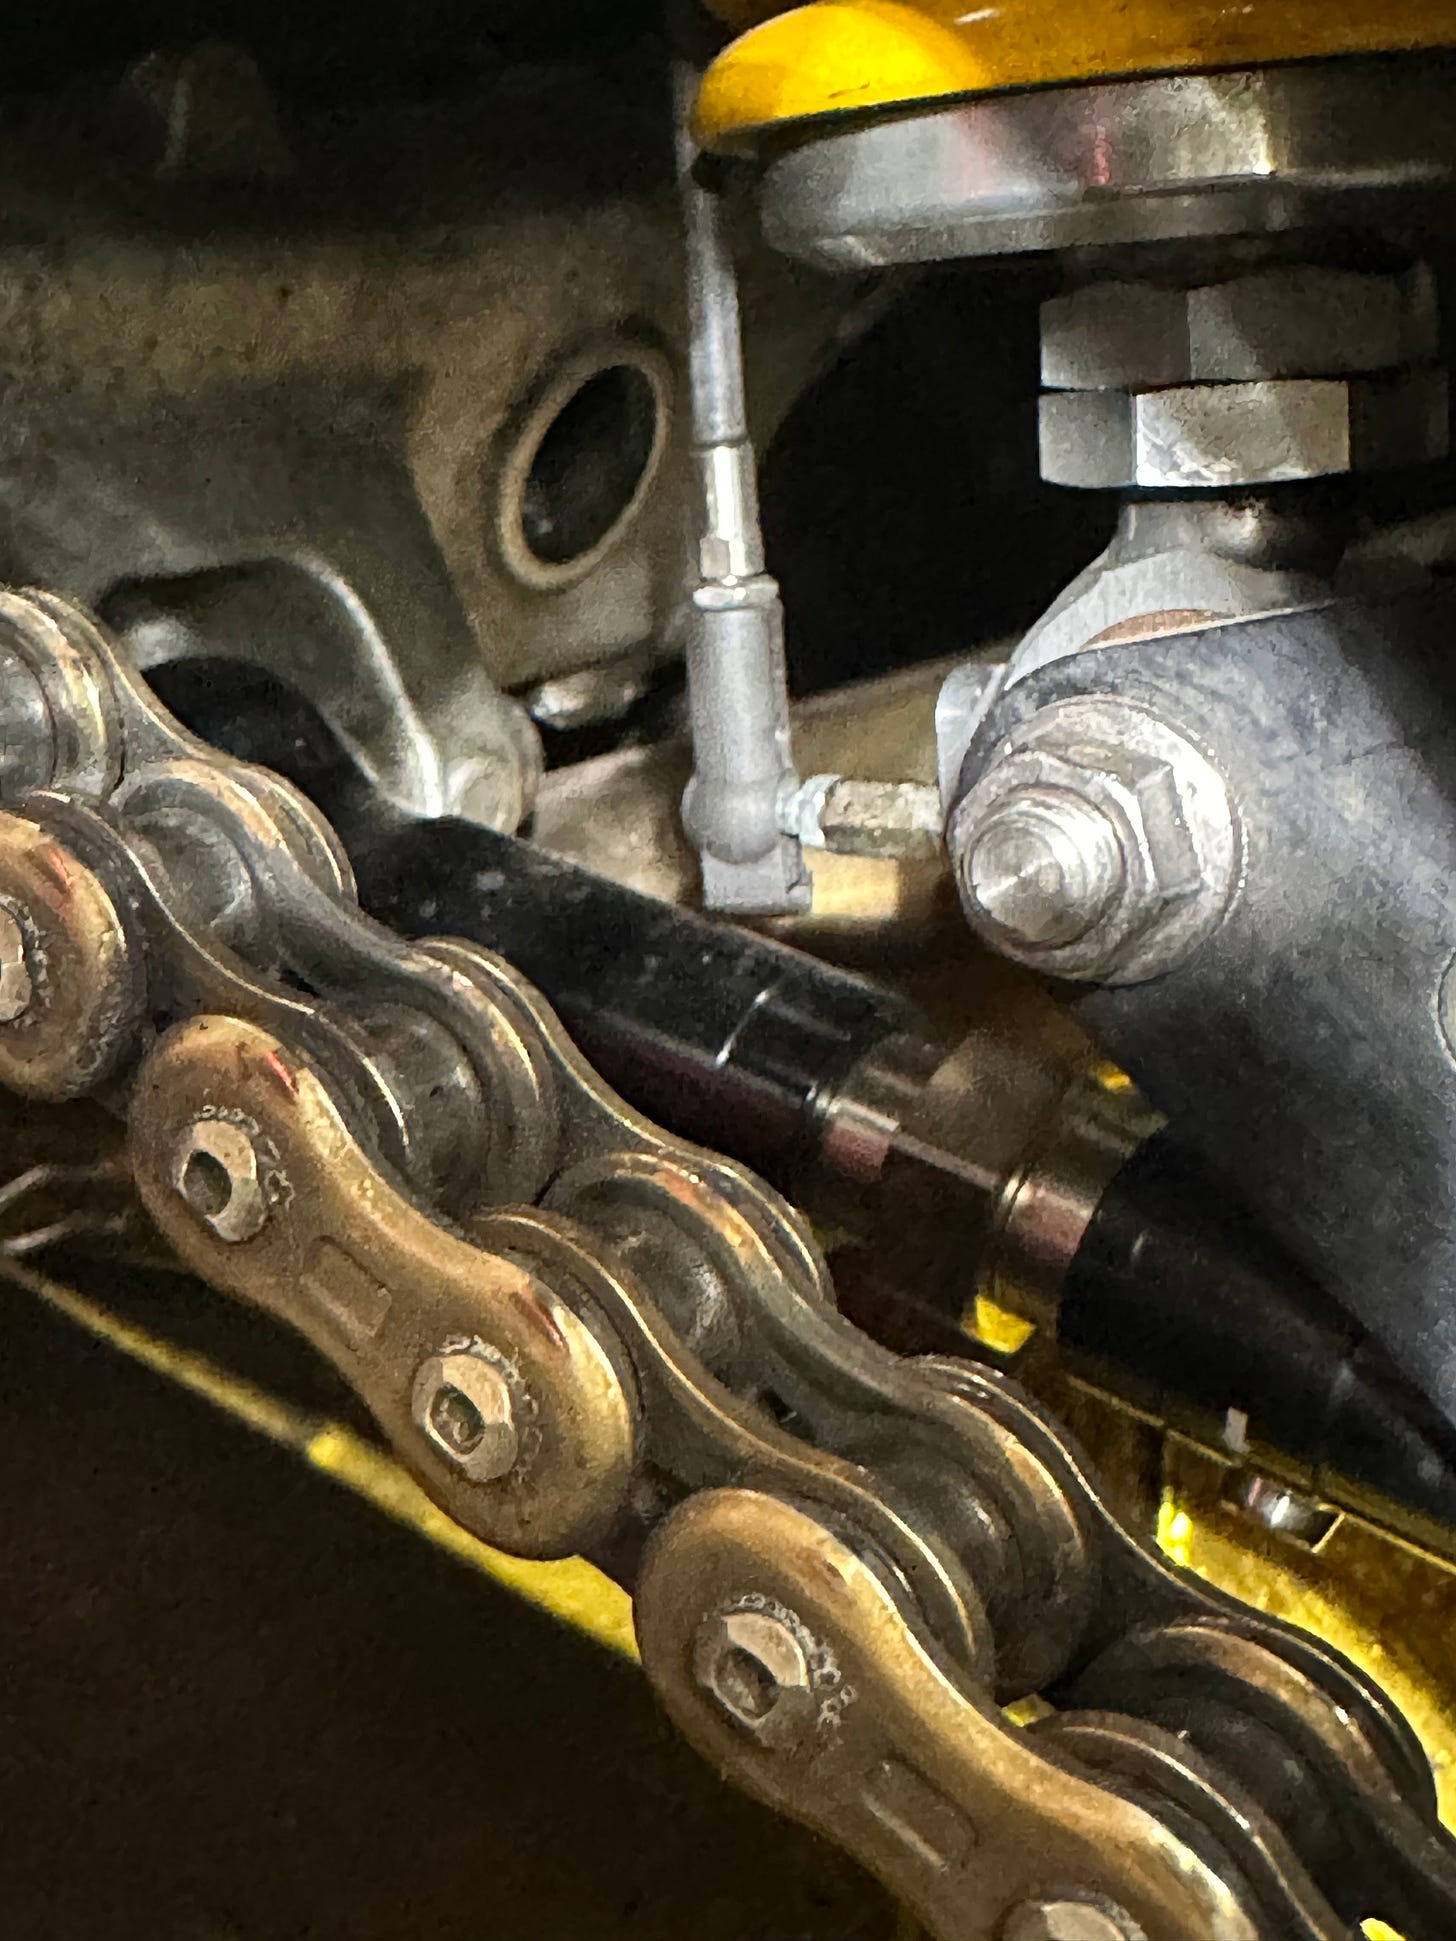
Most of the Ohlins shocks I’ve seen already have female M4 threads for just this purpose. For the rear, my suspension technician used an M4 standoff, which can be found on Amazon and other places (they’re often used inside of computer chassis). I purchased a kit with different lengths of the standoffs so I can use whatever is appropriate and have used different lengths of standoffs for different projects.
At the top of the shock, we needed to raise the height of the mounting point so my suspension technician took a small block of aluminum and drilled and tapped that to get the required height for the pot to attach.
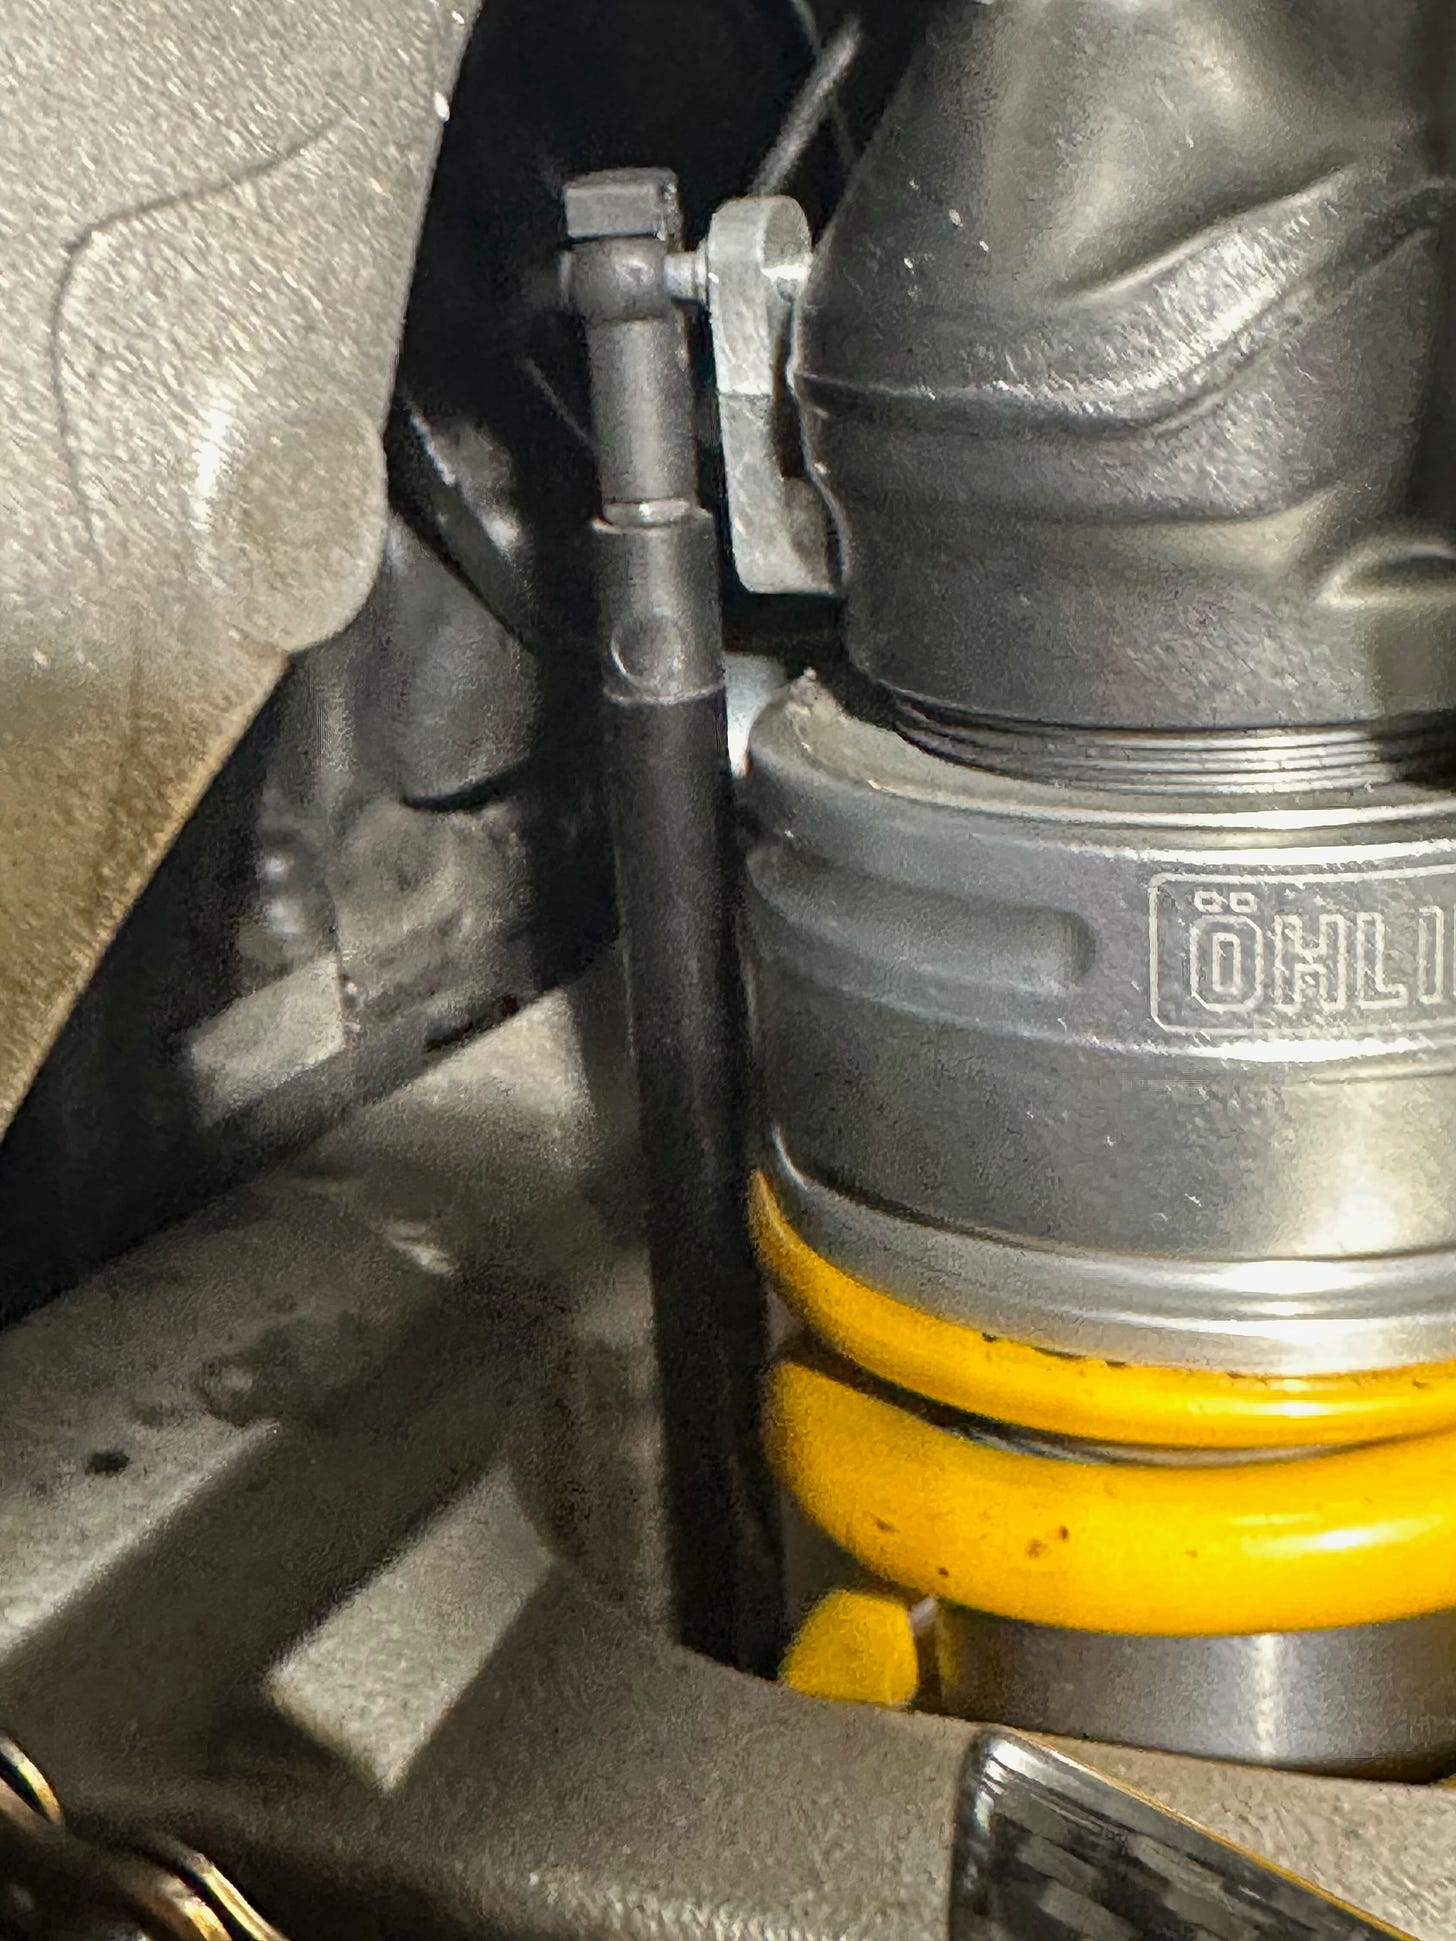
Suspension position data provides so much information into what’s really going on with the rider’s technique and the action on the suspension but it’s not a simple setup and certainly adds complexity to the data but if you’re riding at a high level and want to continue to progress, it’s going to help dramatically.
If you’re new to suspension potentiometers, you’ll want to make sure that they’re clean and lubricated and check and zero them each day. I’ve certainly had challenges with them and if the data is truly important to you, you’ll want to keep a spare for the front and rear in your gear kit. For lubricant, CRC 2-26 was recommended to me by the manufacturer. Credit for the installation goes to Mike Canfield at TTX Tech.
Resources for suspension pot mounting:
https://www.jmrmoto.com/
https://evoltechnology.com/product/potentiometer-to-fork-mounting-bracket/
https://www.facebook.com/Theclipsystem

